Here it is… the recipe I know my friends have been waiting for! Not that this recipe is secret but it’s one recipe I’ve perfected and even played around with. I’ve done every fad diet in the book and this is once recipe I will continue to alter based on the diet just so I can continue to enjoy it… It’s MY banana bread!
When I was in college my roommates and I would buy bananas weekly but by Thursday we were finished we had had enough of being healthy and it was time to kick the healthy stuff to the curb, so come Saturday afternoon when all the bananas we didn’t finish had ripened I made banana bread. I made banana bread with whole wheat flour, with chocolate chips, I even tried making banana bread with applesauce (still tastes delicious!) But here it is my simple homemade banana bread. I’ll give you the basics you make it your own. Feel free to add chocolate chips or add walnuts everyone has their own liking and this is a recipe easy to alter to all.
*It’s also a great gift at the holidays if you make it in the mini bread pans and wrap it with colorful ribbons! The possibilities are endless. Enjoy!
Ingredients:

3-4 Ripe Bananas – The ripper the banana the better the bread (Depending on how big they are you want more than less for this recipe in order to make it moist and delicious!)
1/3 Cup Melted Unsalted Butter
3/4 Cup Sugar – I prefer Splenda for this recipe, it’s sweet without the added calories. But regular sugar won’t make it taste awful I promise.
1 Egg
1TBS Vanilla – My secret is Mexican Vanilla it’s more powerful. You can find it at any speciality store and maybe even your local grocer now. Check it out.
1TBS Baking Soda – Only need a teaspoon! If you add anymore it can pop-up high and seem over cooked.
Pinch of Salt
1 1/2 Cups Flour – If you want to use whole wheat flour just do half and half 3/4 whole wheat 3/4 regular and it’ll be fewer calories.
*Add chocolate chips or walnuts about 1/2 cup or if you’re a chocoholic any amount will do really.
Directions:
Preheat oven to 350 Degrees

With a wisk mash the bananas. Once the bananas have been mashed add the melted butter and mix.

Mix in the sugar, egg, and vanilla.
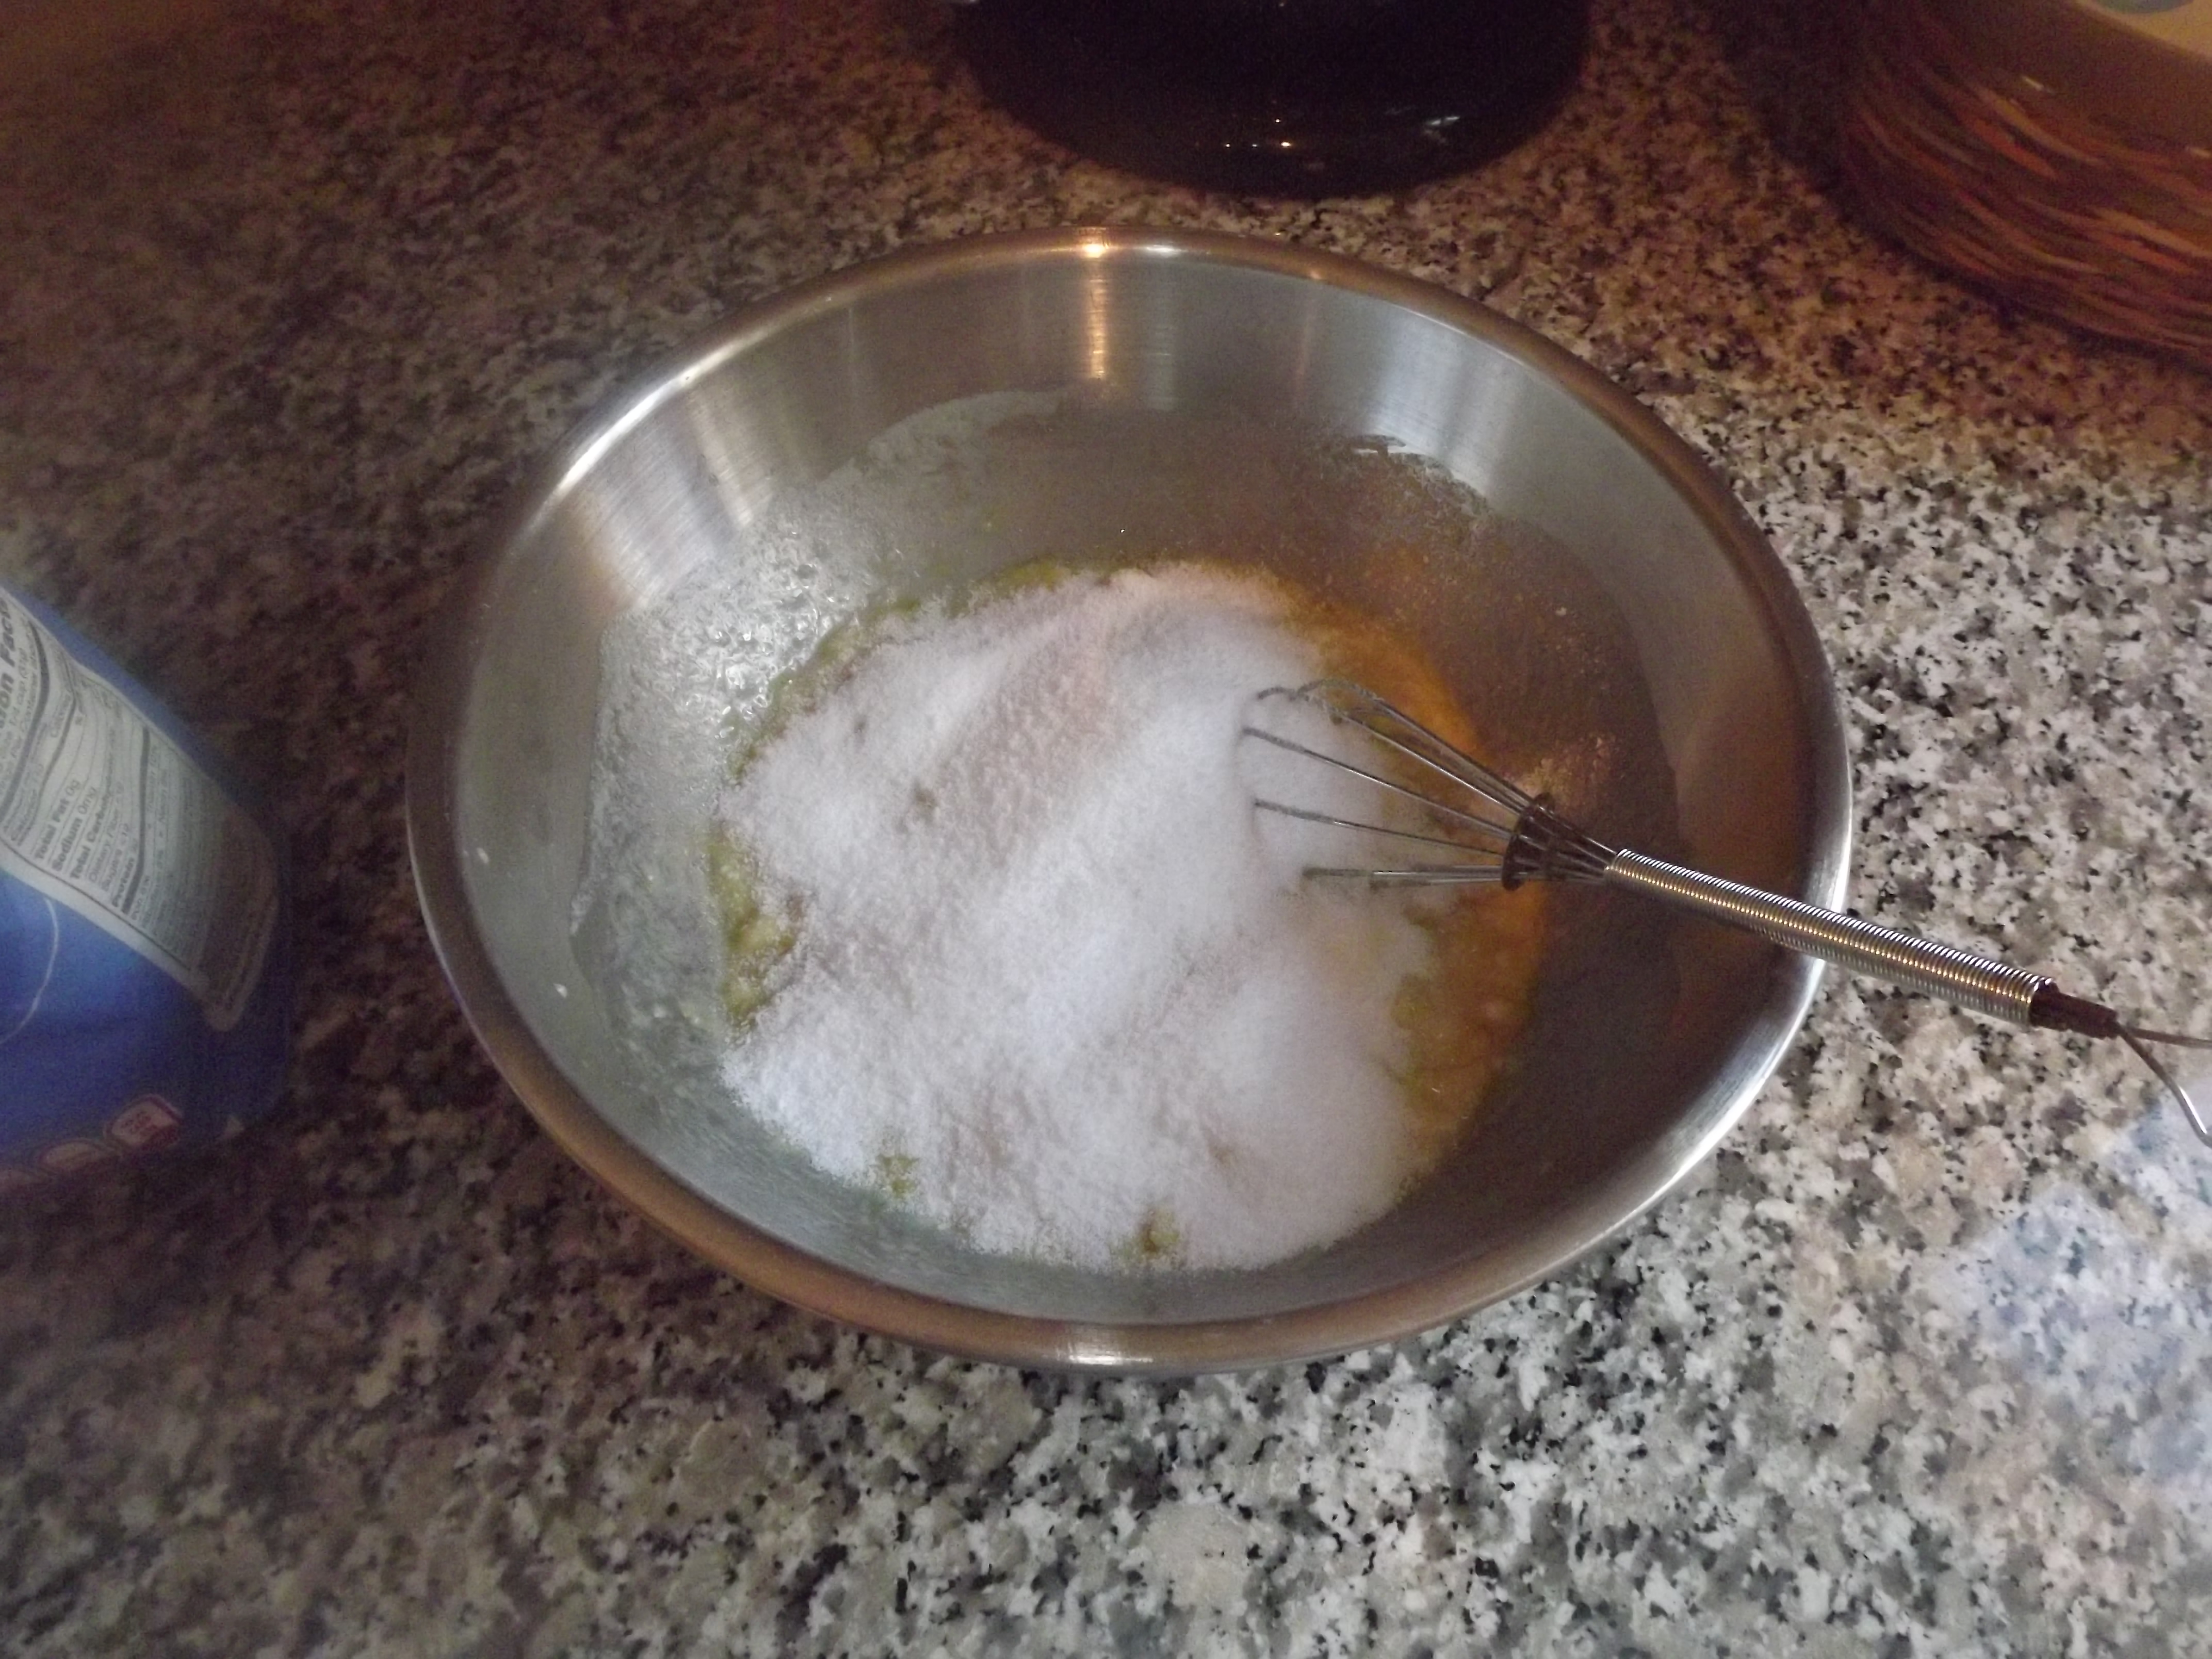
Add the baking soda and salt and mix well. 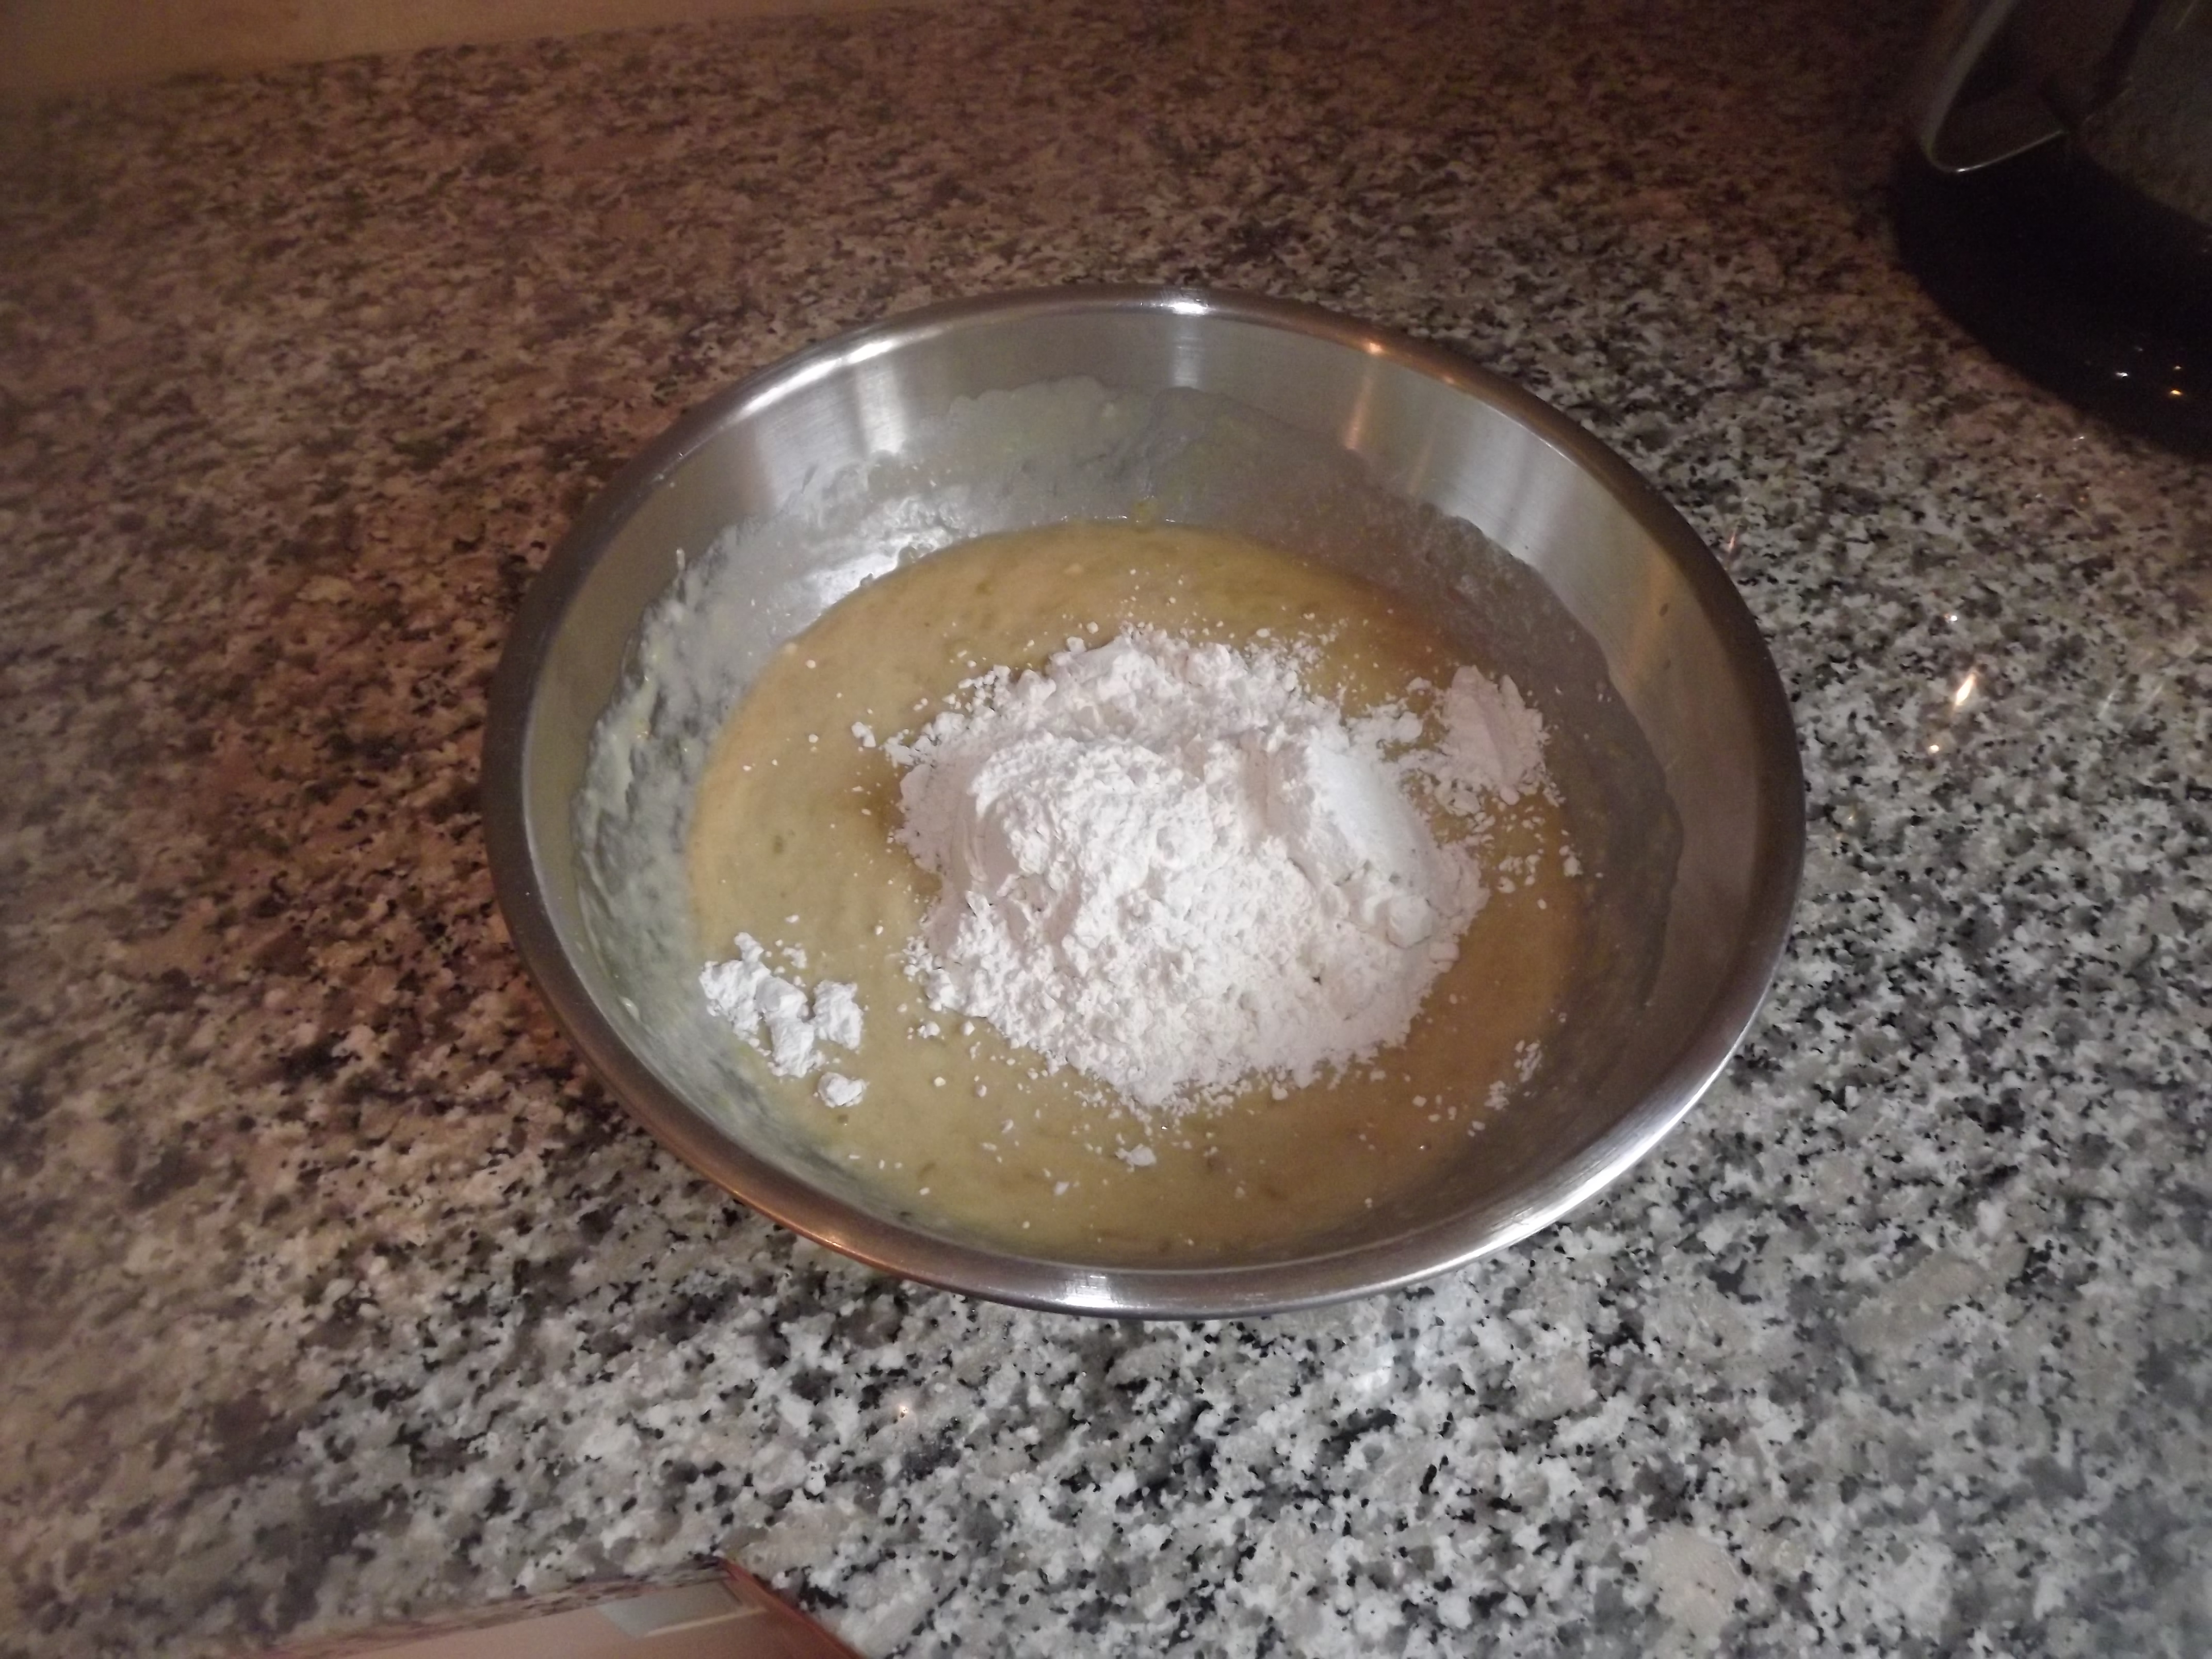
Add flour last and mix well.
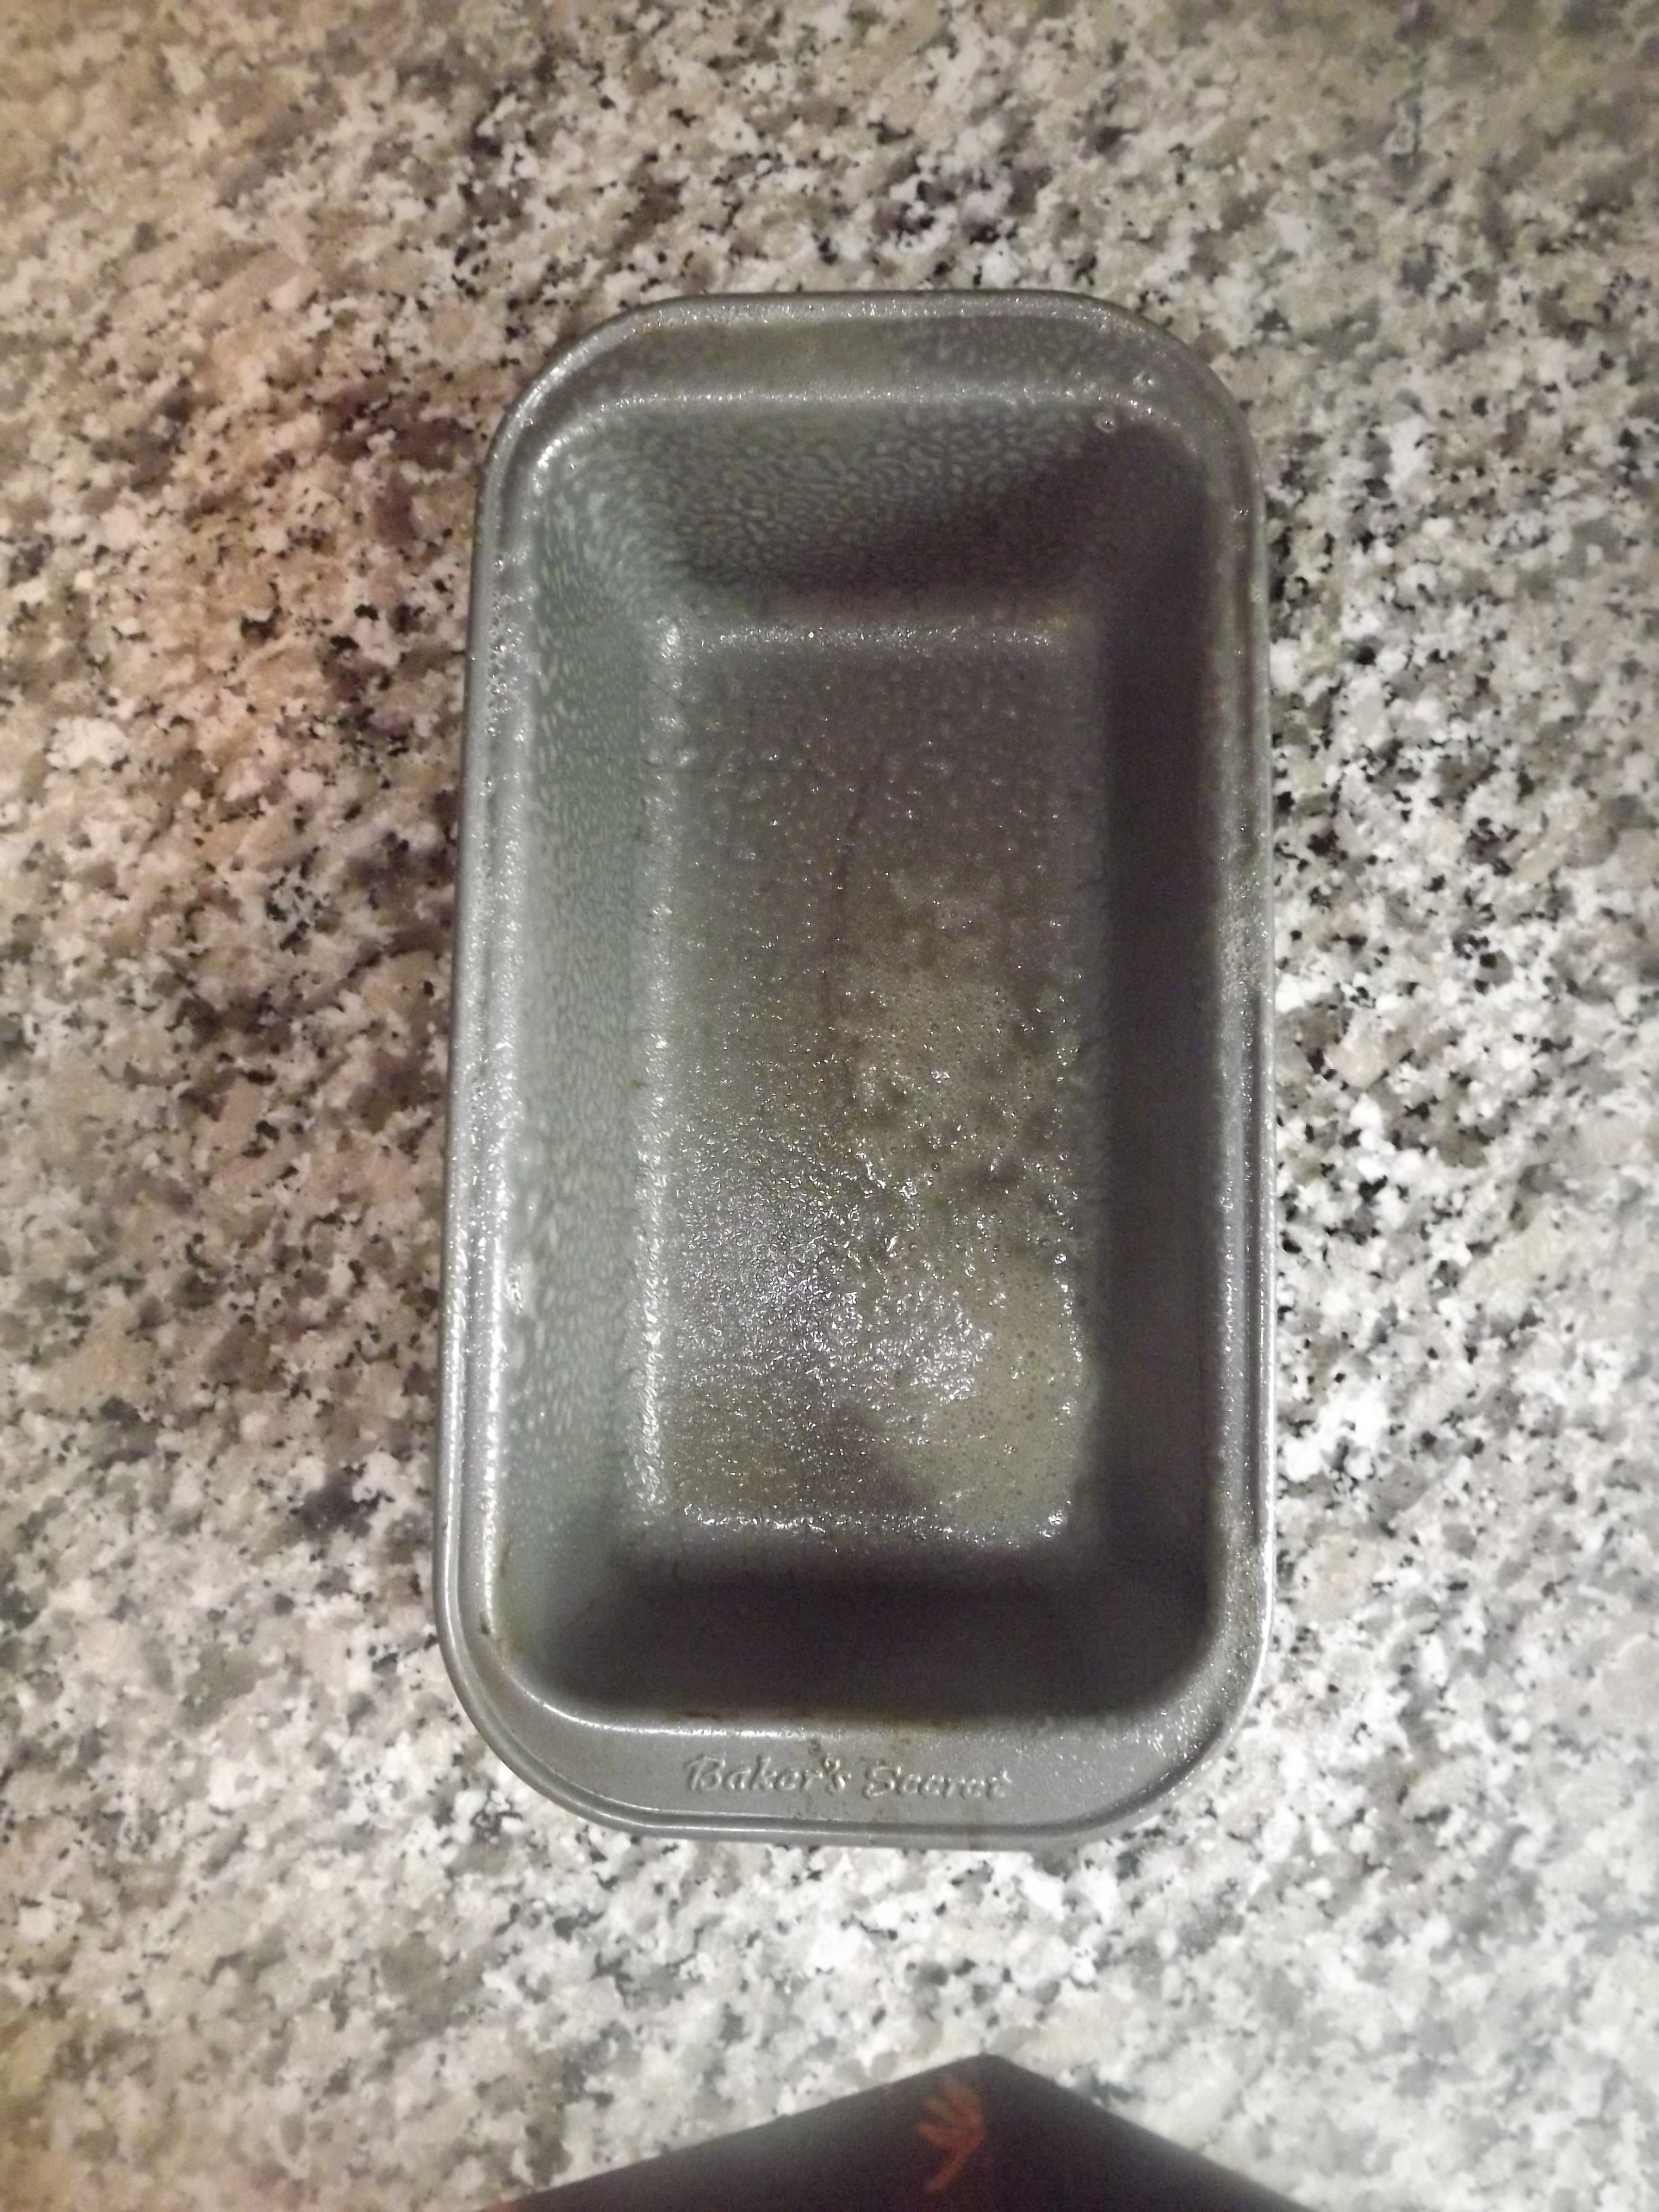
Pour the mixture into a greased pan. Butter works best in terms of getting a soft bread feeling but for convenience I use baking spray (PAM) and don’t cook my bread as long.

I bake my bread for 45 minutes most recipes call for an hour, but I feel the longer it bakes the less moist it will taste.
Once it’s done baking remove from the oven, cut, and serve! Enjoy the deliciousness!

Sorry this is a little late but it’ll be great to save for next year! I love rice krispies and making rice krispie treats any way possible, sometimes I’ll add peanut butter or M&M’s sometimes even both! But during the Halloween season I kept seeing these cute little pumpkin treats so I decided to give it a try. I had to go to work on Halloween day and had yet to bring my co-workers something delicious so I felt this was the perfect treat! It’s super simple and come christmas maybe we can make a tree instead. Rice Krispie treats are very versatile and again very easy and not time-consuming. Enough with the chit-chat let’s get started.
Ingredients:
3 Tablespoons Butter
10oz. Mini marshmallows
6 Cups Rice Krispies
Food Coloring
Midget Tootsie Rolls
Green Frosting – To make it easy buy the can with the different tops.
Directions:
 Start by melting the butter over medium heat in a large pan. Once the butter has melted start pouring the marshmallows into the pan and continuously stir until they are melted, turn the heat off. Once the marshmallows are melted add food coloring (Red and Yellow) and make a bright orange coloring.
Once the coloring is right start to add the Rice Krispies and mix into the melted marshmallows. It’s important to add some cooking spray to the spoon you use when mixing or it will get sticky.

Once all the Rice Krispies are mixed in it is then time to get a little messy. Spray your hands with cooking spray or Crisco or butter and start grabbing the mixture and forming a small pumpkin ball.
Once the coloring is right start to add the Rice Krispies and mix into the melted marshmallows. It’s important to add some cooking spray to the spoon you use when mixing or it will get sticky. Once all the Rice Krispies are mixed in it is then time to get a little messy. Spray your hands with cooking spray or Crisco or butter and start grabbing the mixture and forming a small pumpkin ball.

Once all the pumpkin balls have been formed grab the green frosting can and if you get the easy can with different tops use the “Leaf” top and spray a little right across the top of the ball.
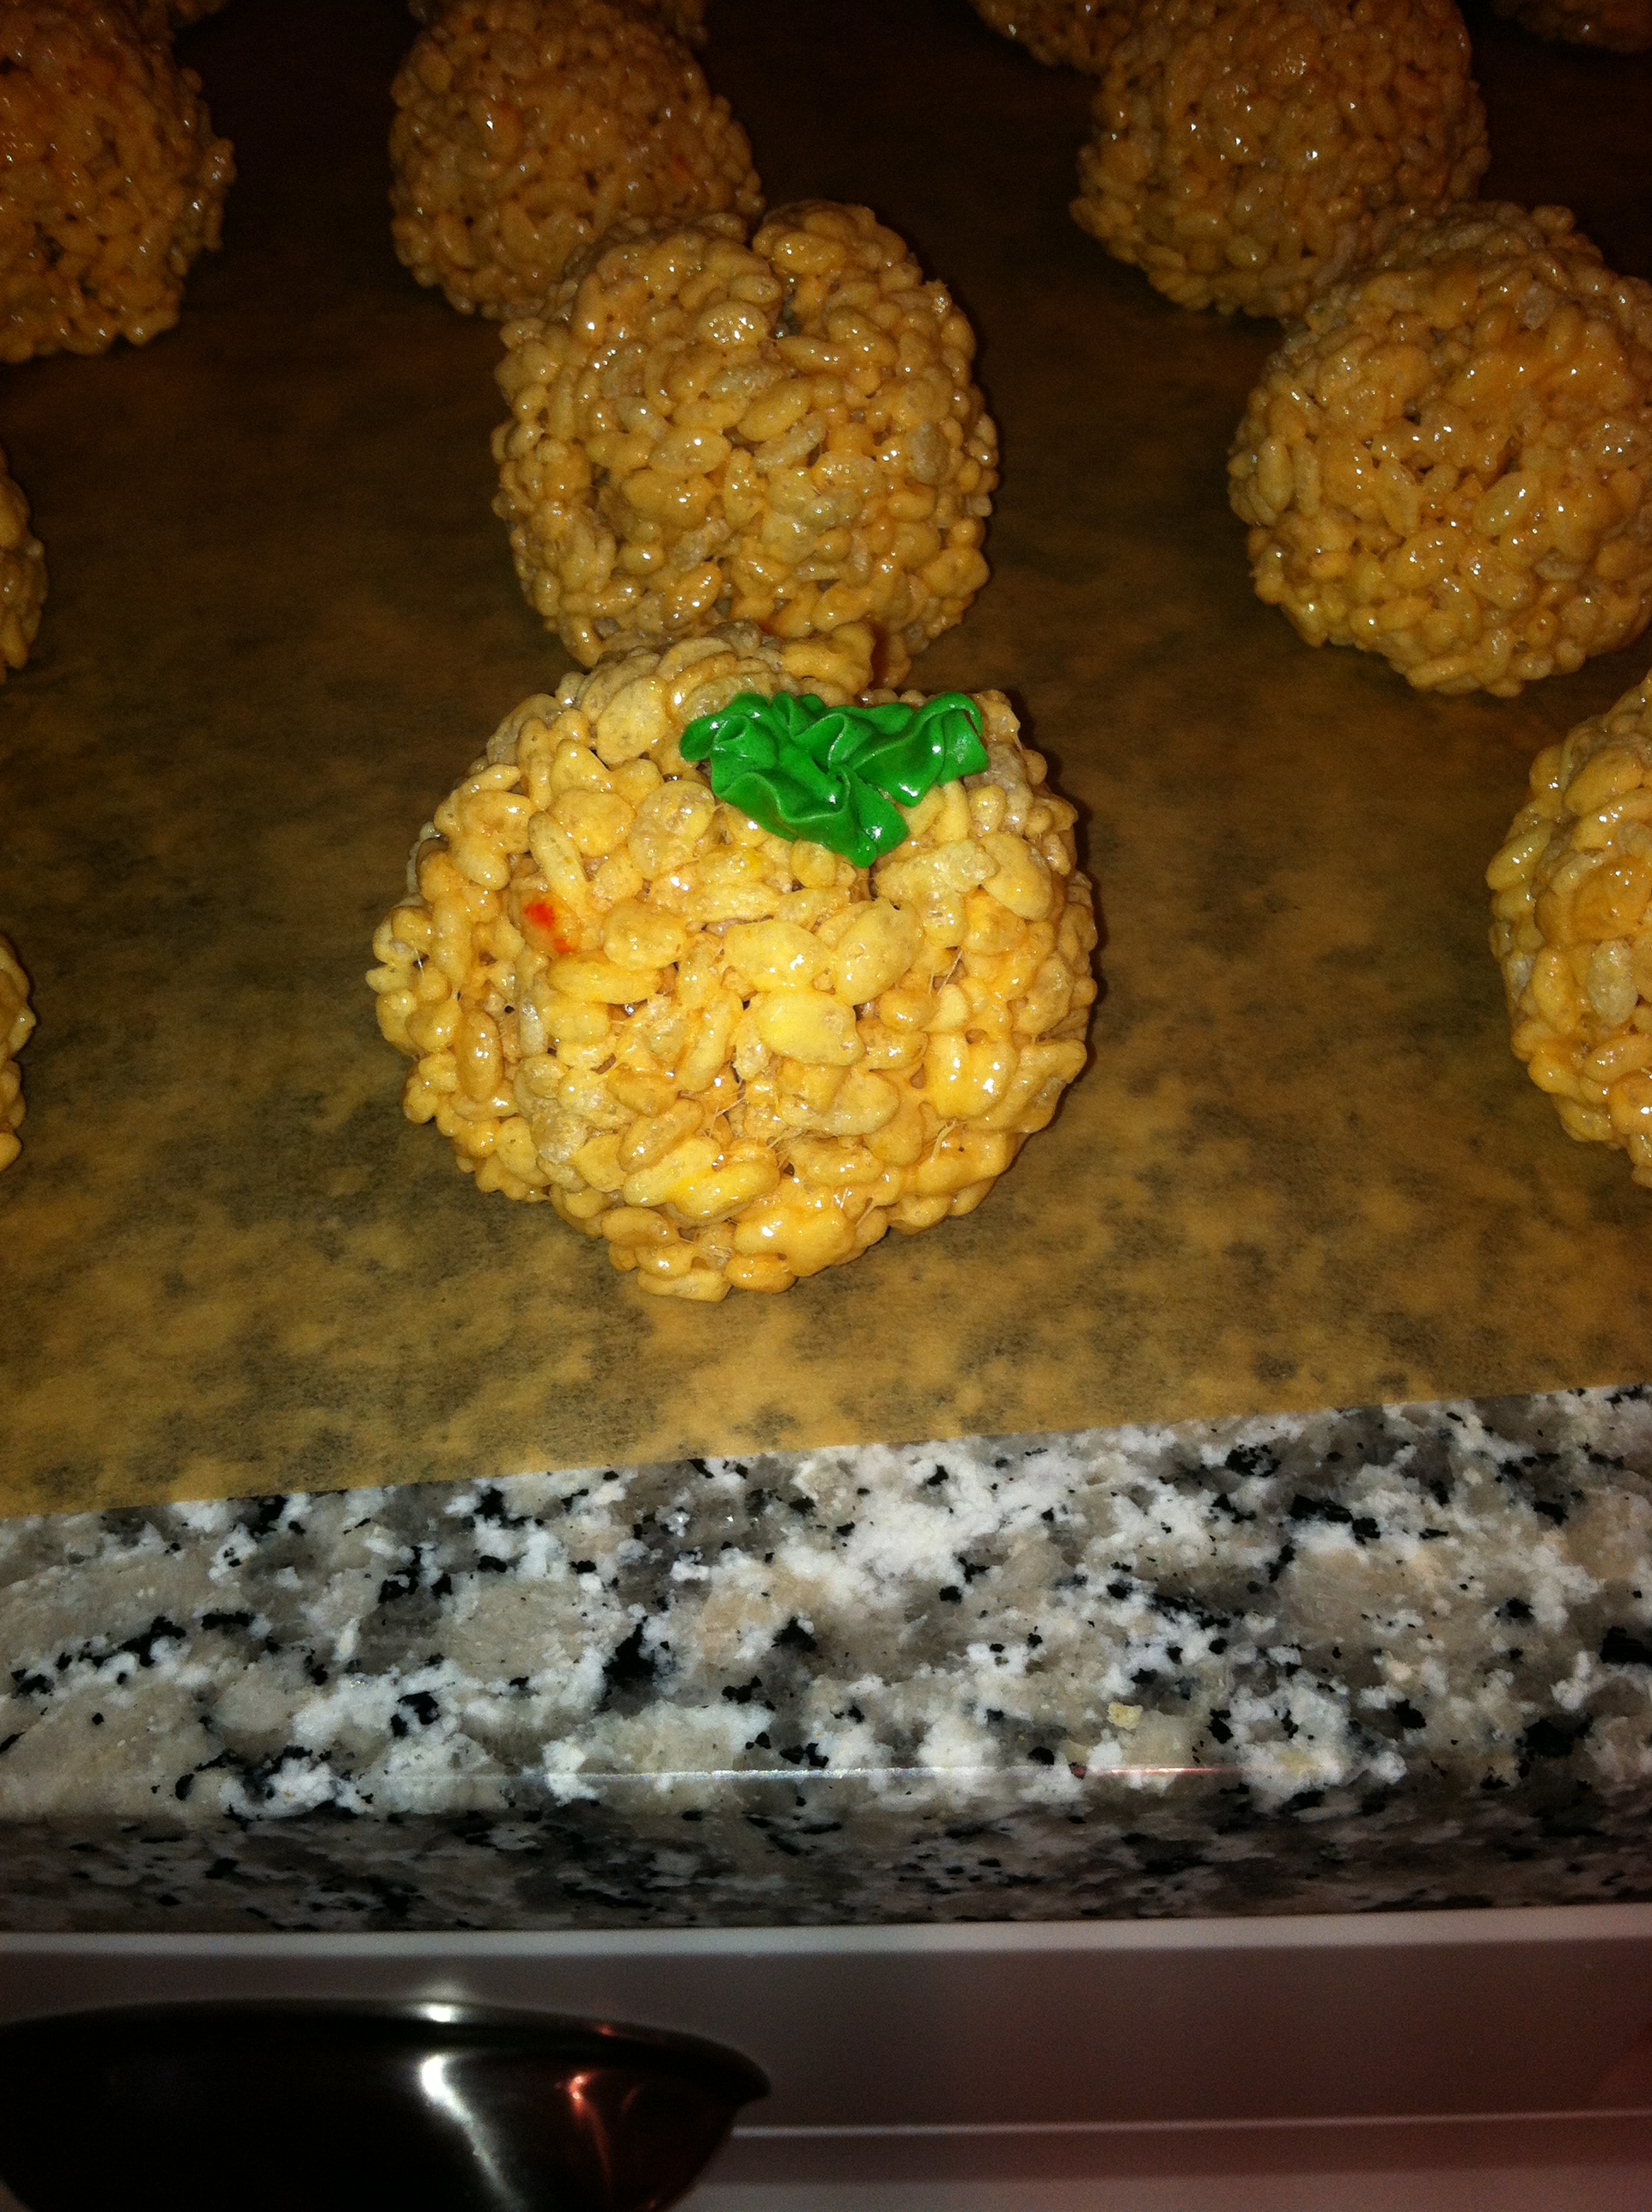
After the pumpkins have their leaves it’s time to start adding the stem. I found the whole midget Tootsie roll was too long so I cut them in half. Once that’s done you will have a perfect pumpkin patch, that taste even better than they look!

Enjoy and Happy Halloween!
These past two weeks have been crazy! My best friend got married this past weekend and it was a TON of fun and I couldn’t be happier for her. Well we all know with a wedding comes parties and cookouts and bake goods are always a good thing to bring with. This week I noticed we had a lot of dried oats in the pantry and I was craving oatmeal cookies, but I didn’t want the typical “Oatmeal Raisin Cookies” I wanted something sweeter, so I added a little ingredient that packed a big kick, so let’s get started and you’ll find out the secret ingredient.
Ingredients:

1/2 Cup (1 stick) plus 6 tablespoons butter, softened
3/4 Cup firmly packed brown sugar
1/2 Cup granulated sugar
2 Eggs
1 Teaspoon(s) vanilla
1-1/2 Cup(s) all-purpose flour
1 Teaspoon Baking Soda
1 Teaspoon ground cinnamon
1/2 Teaspoon salt
3 Cup Old-fashioned oats
1 Cup raisins
and the “secret ingredient” is White Chocolate.
Your choice you can use chips or I like chopping up the big bars you can find in the baking aisle.
This is the perfect combination of sweet chocolate while keeping the familiarity of the oat fashion oats and raisins.
Baking Directions:
Pre-heat the oven to 350°F. Start by mixing the butter and sugars till they are a creamy texture.


Add the eggs and vanilla, mix them in. Then add the flour, baking soda, cinnamon and salt; once those have been mixed well, then it’s time to add in the oats, raisins, and white chocolate.


When I make cookies I’d prefer to make them big and soft, so I use an ice cream scoop this increases the baking time from 8-10 minutes to about 13-15 minutes.

Once they come out put them on a cooling rack and wait a few minutes before indulging in these delicious cookies. Add a glass of milk and it’s the perfect after dinner snack!

Fall has some of the best flavors including PUMPKIN! I know a lot of people enjoy the dunkin’ pumpkin spice coffee or pumpkinhead brew. I have just never enjoyed the taste of pumpkin until I discovered pumpkin bread and then I started to love the spices!
My mom went to Williams and Sonoma the other day, without me… how dare she?! I love going on the weekends they usually have a class in the morning and a recipe they share in the afternoon in their fun little pastry cups, anyways my mom tried the pumpkin bar they had out and she thought I’d love to try it, but taking a cup to-go seems a little weird, so she brought me all the ingredients and now I’m going to share my experience and review of this recipe.
So due to copyright, this is not my recipe it is from Williams and Sonoma but I will include my pictures from the process.
Ingreidents

For the crust:
1 package spiced pecan pumpkin quick bread mix
1 egg
8 Tbsp. (1 stick) unsalted butter, melted
For the filling:
1 – 8oz. package cream cheese, at room temperature
1 jar Muirhead pecan pumpkin butter (Williams and Sonoma carried this, it is seasonal though)
3 eggs
1 tsp. vanilla extract
8 Tbs. (1 stick) unsalted butter, melted
1/2 tsp. ground cinnamon
15 oz. confectioners’ sugar
Directions:
Preheat an oven to 350°F (180°C). Grease a 13-by-9-inch (33-by-23-cm) baking pan.
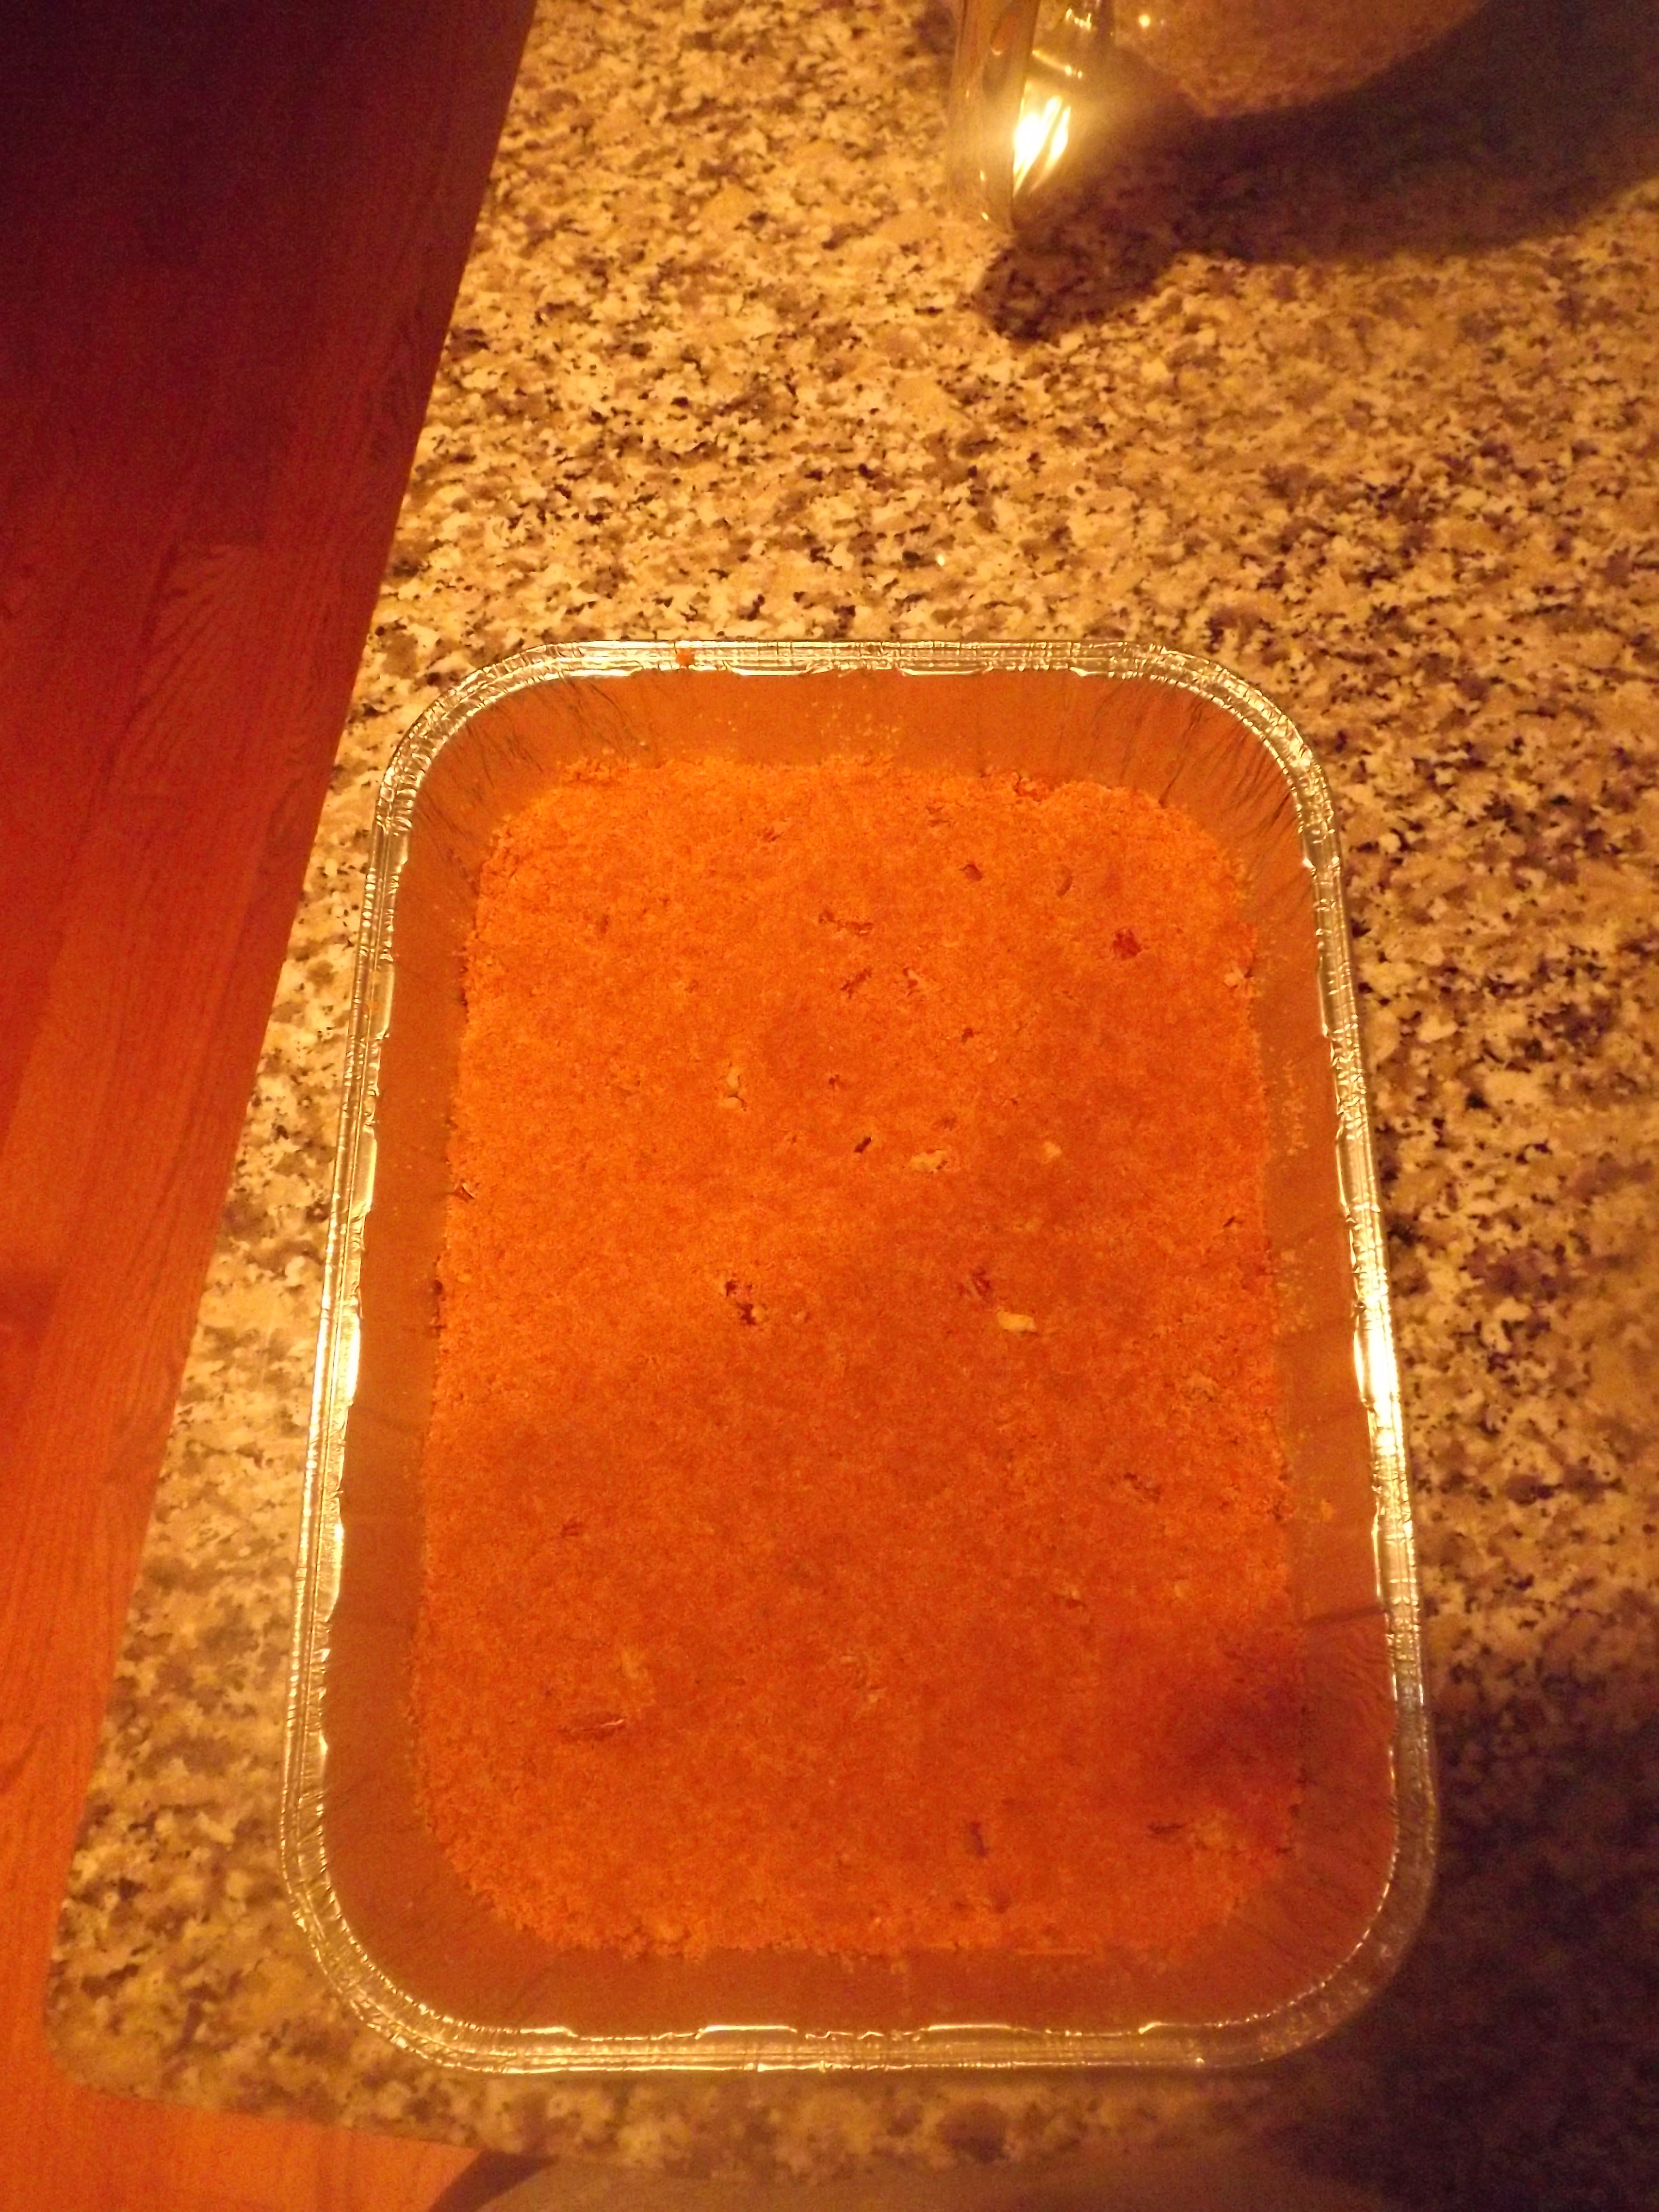
To make the crust, in the bowl of an electric mixer fitted with the flat beater, combine the quick bread mix, egg and melted butter and beat on low-speed until the ingredients come together, 1 to 2 minutes. Transfer the mixture to the prepared pan and spread out evenly. Press the crust down until it feels compact (using the back of a measuring cup can help).
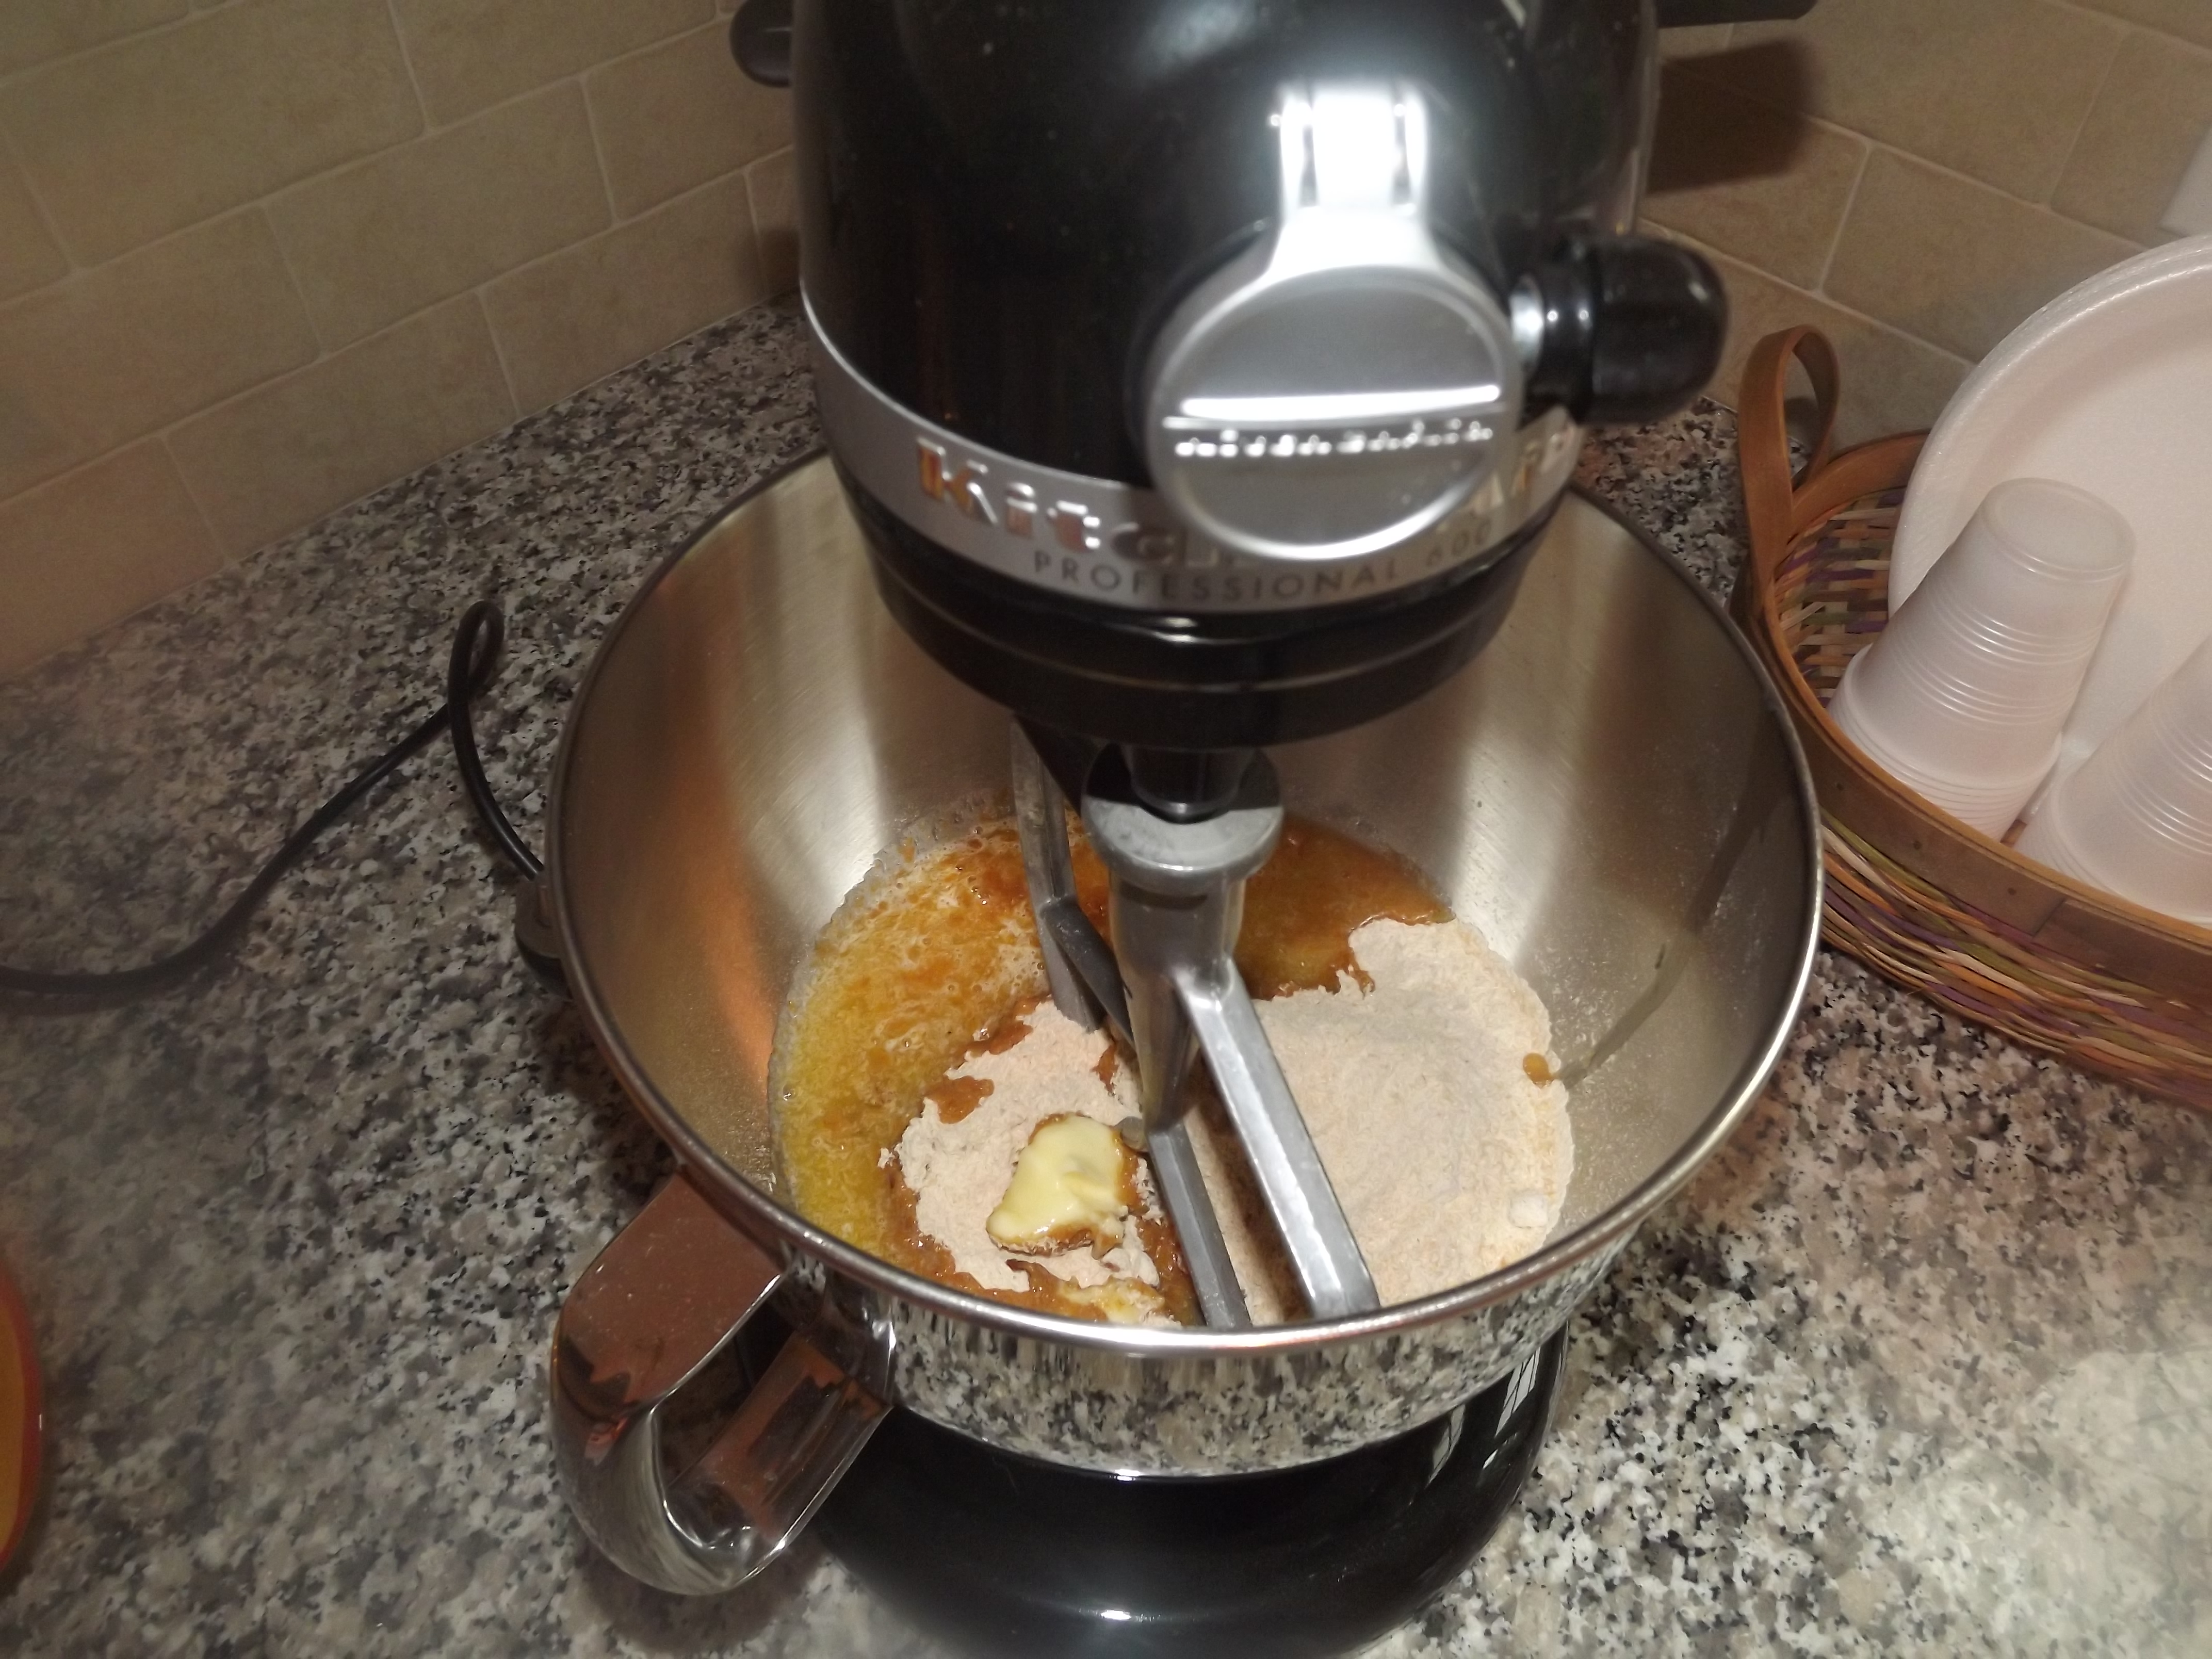

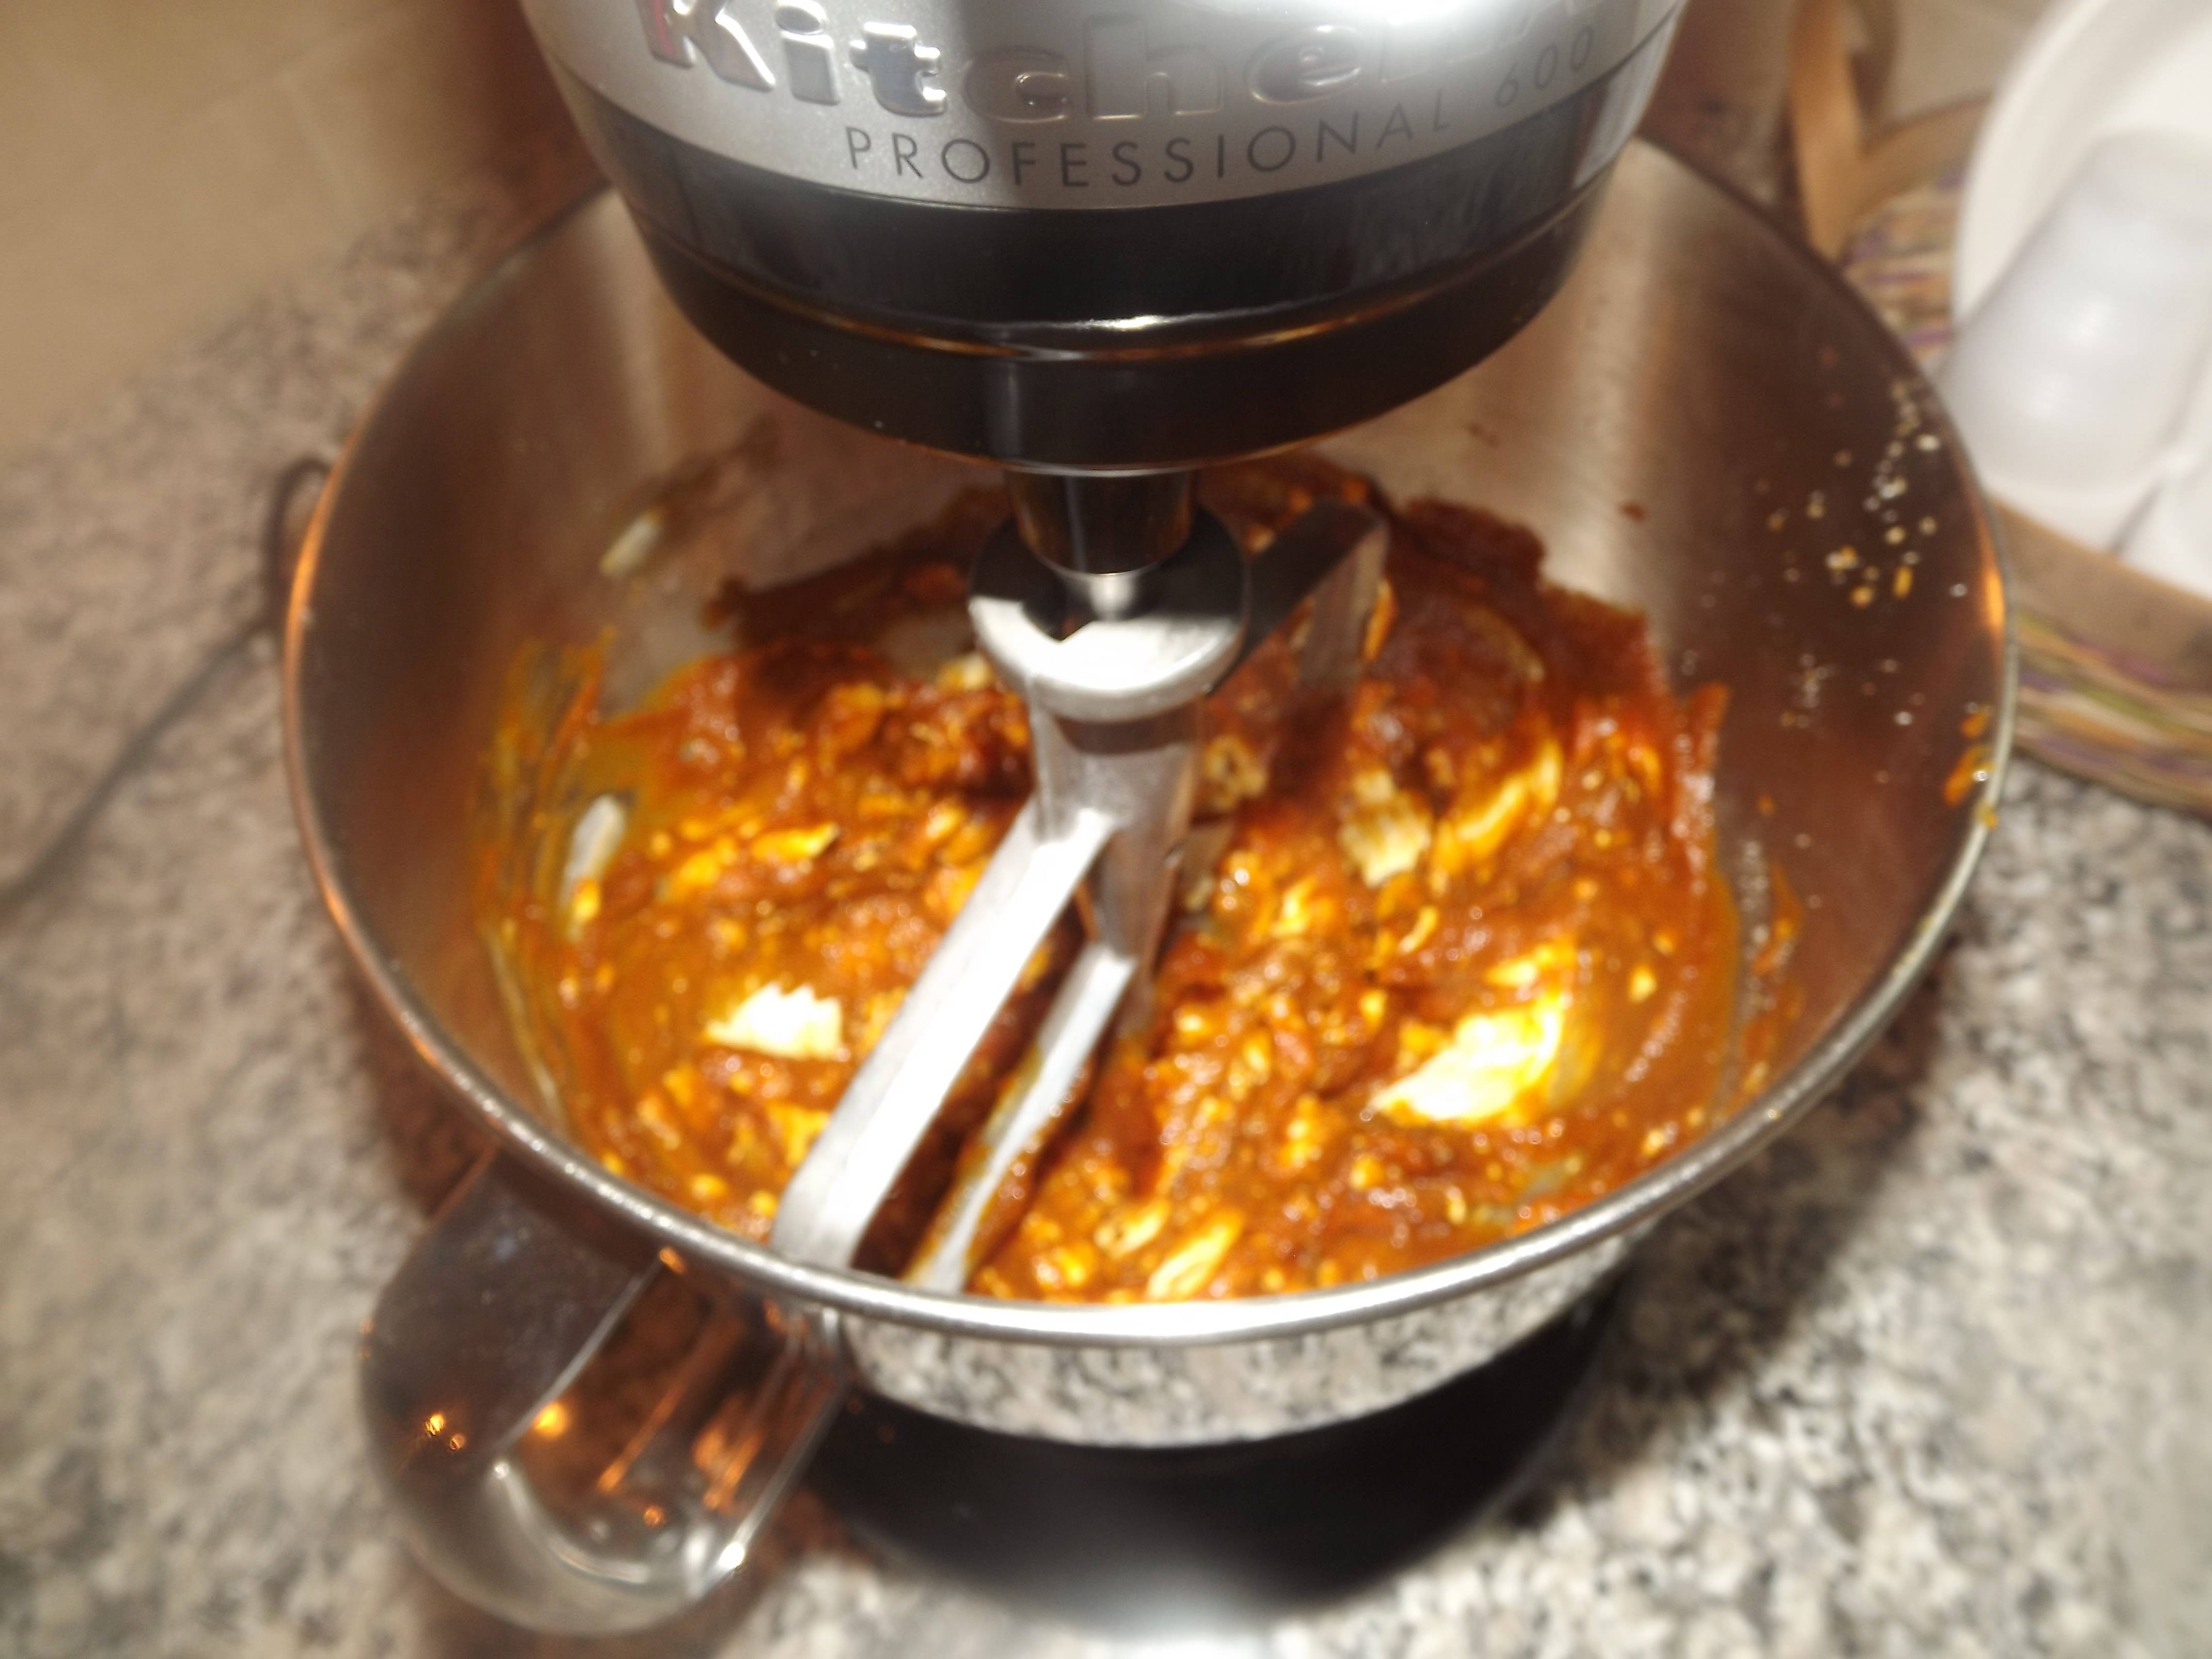
To make the filling, in the mixer bowl, combine the cream cheese and pumpkin butter and beat on medium speed until smooth, about 1 minute. Add the eggs, vanilla, melted butter and cinnamon and beat until combined, about 2 minutes. Add the confectioners’ sugar and beat well, about 2 minutes.

Spread the filling over the crust. Transfer to the oven and bake for 40 to 50 minutes. Do not over bake; the center should still be a little gooey. To test if it’s ready, gently shake the pan; you should see a slight jiggle in the center. Transfer the pan to a wire rack and let cool for at least 20 minutes, then cut into bars. Makes 16 bars.


*Add a little whip cream and it could be the perfect after dinner snack!
This recipe made the house smell delicious and it would have been great if we had an event to go to or people to share this with, because a 9×13 is a lot of sugar for a family of four. It’s a delicious bar that should probably be cut into small pieces because it is packed with delicious flavors! The whole recipe was really simple and fun to make. It has potential to become a new family fall favorite.
http://www.williams-sonoma.com/recipe/ooey-gooey-pumpkin-bars.html – Copyright
Well it’s that time of year again… my favorite time of year! It’s time for apple picking and apple baking! Last weekend my mom, my brothers girlfriend Meghan, and I went apple picking and got some amazing macintosh and cortland apples, which happen to be the best for baking.

We had such a good time and the weather was perfect! But, I know that’s not why you came on here, so lets get down to the delicious stuff… the apple crisp! Ever since I started working at Gillette we have apple crisp a lot and I crave it constantly so I knew thats what I needed to make with these apples.
In order to make apple crisp you must have the following ingredients:

4 Medium Sized Apples (Skinned, Coored, & Sliced) – I used Macintosh
3/4 Cup Brown Sugar
1/2 Cup Flour
1/2 Cup Dried Oats
1 Teaspoon Cinnamon (Never enough cinnamon.. I may add a little more than a teaspoon)
3/4 Teaspoon Nutmeg
1/3 Cup Butter (Softened)
*And to finish it you will NEED Ice cream!
Set the Oven to 375 and while thats warming up get mixing! This recipe is really easy and quick once you have skinned, coored, and sliced the apples then it goes real fast.


Once the apples have been cut spread them out amongst an 8×8 Pan that has been greased, I like to use Pam baking, but it’s your preference really. In a seperate bowl mix those other ingredients together and dont be afraid to get your hands a little dirty when mixing in that butter. Once those are mixed together spread it on top of the apples and at that point your oven should be ready to bake!

Baking time is about 30minutes or until the top crust is golden brown and the apples are tender.

The end result not only taste good but it makes the house smell delicious like fall and the whole family will love you for baking!
